How to Sell a Ticket
Red61 System - Current Desktop Sales
Sales - Search Events
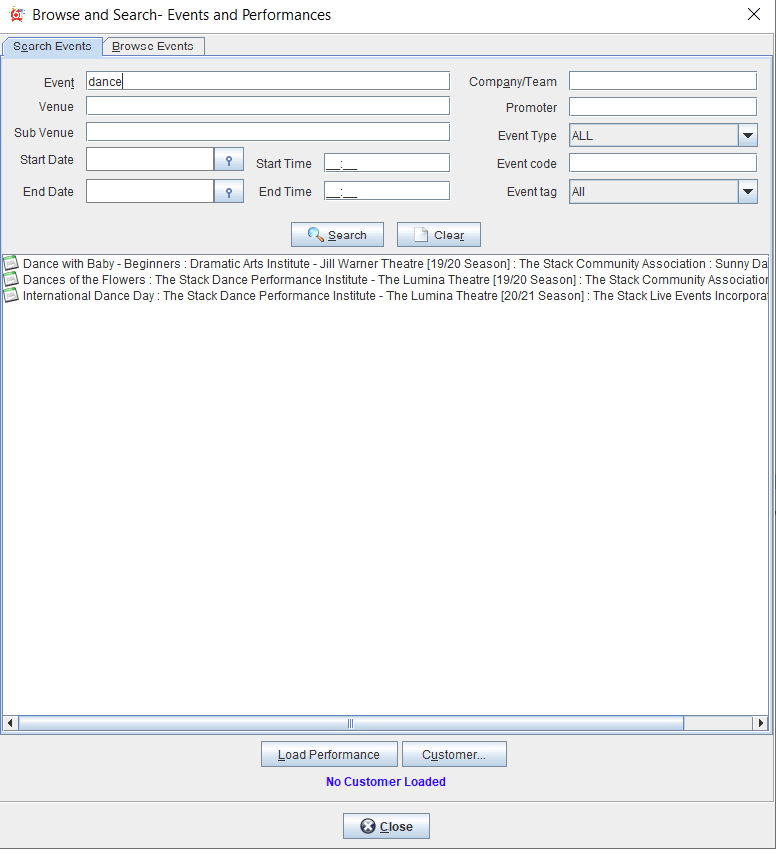
Search Events or Browse Events using the filter criteria
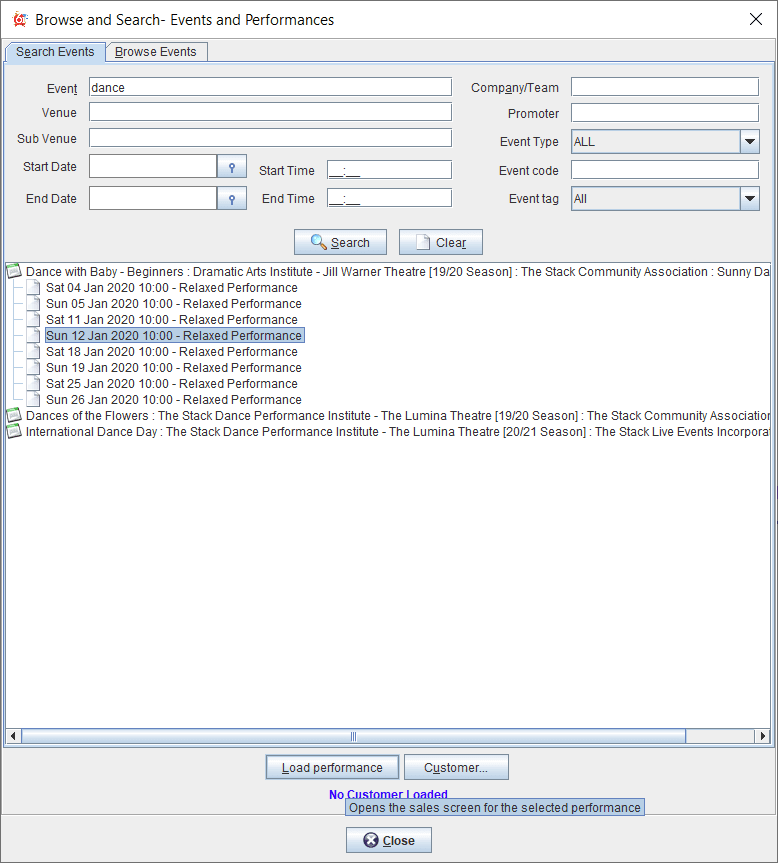
Highlight the desired event date and time and click Load Performance
The performance (event date and time) will load onto the screen.
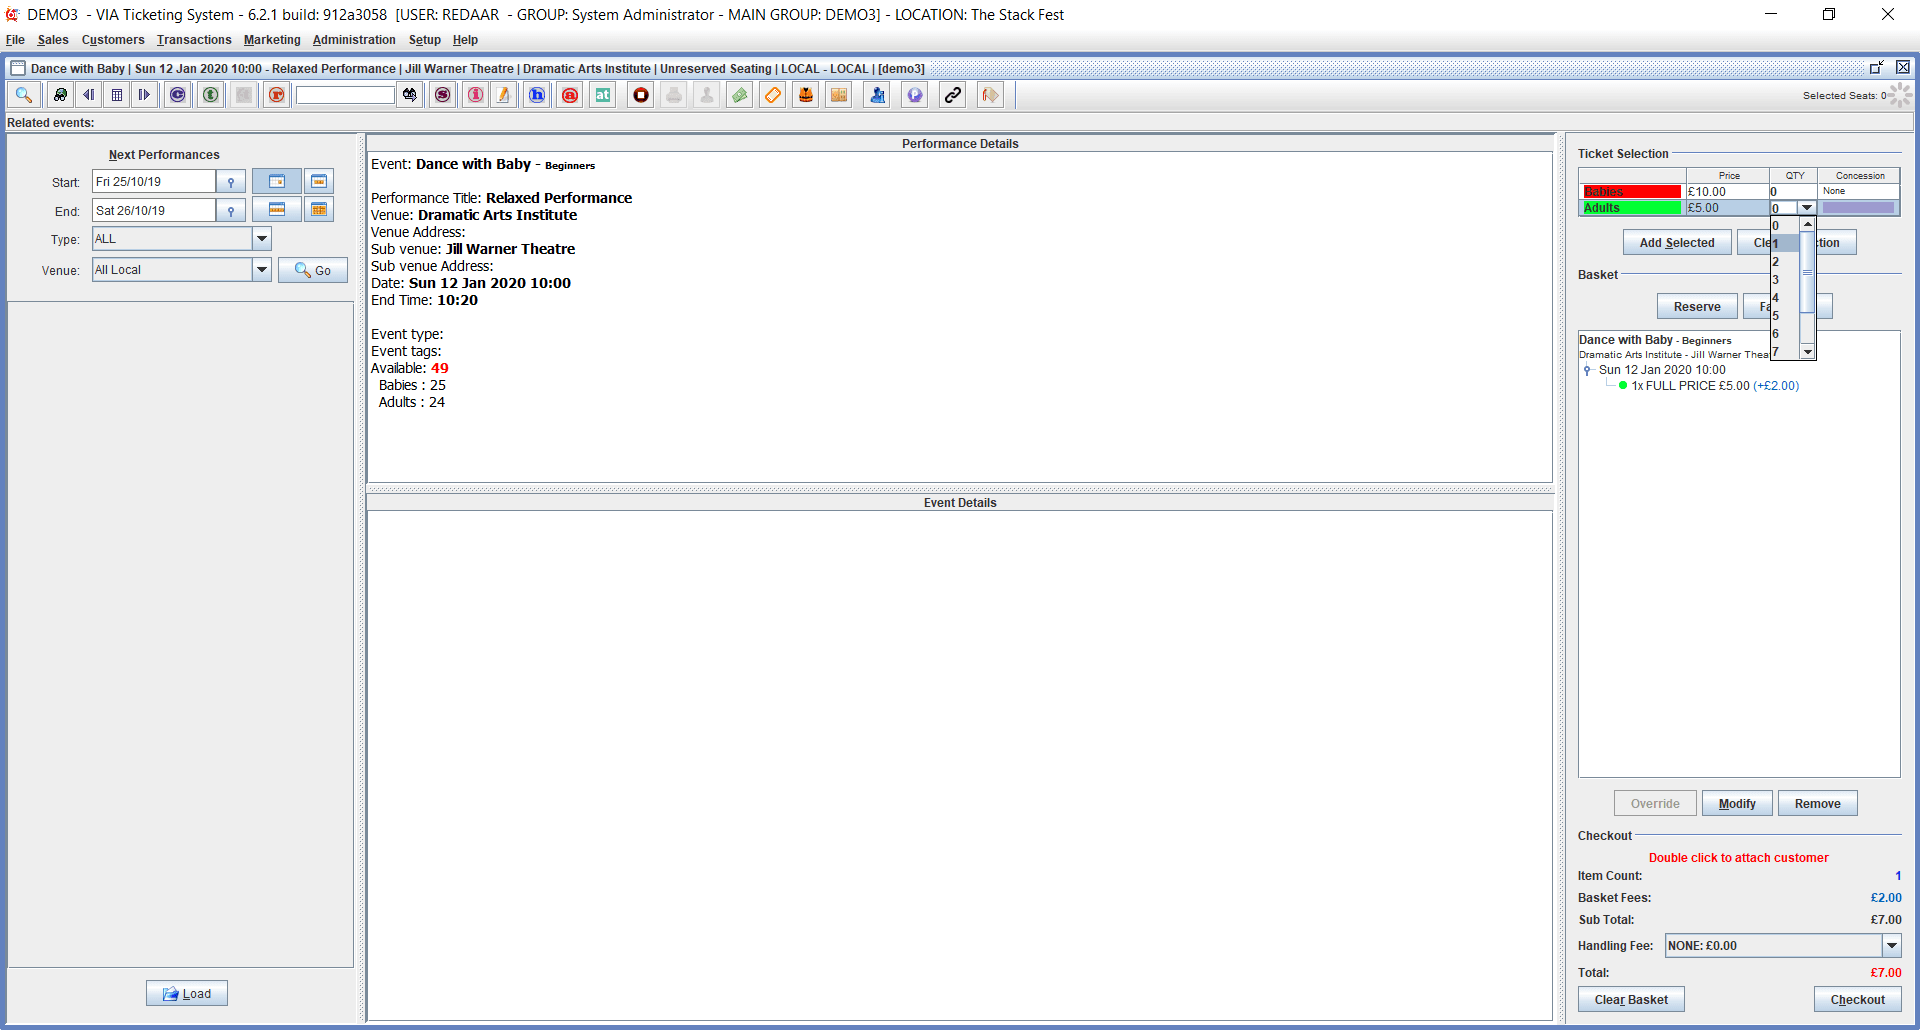
General Admission Sales Screen - Make the Ticket Selection at the top right and select the quantity of tickets. If the Concession line is blue, click on it to get other ticket options (ie. student, senior, etc.)
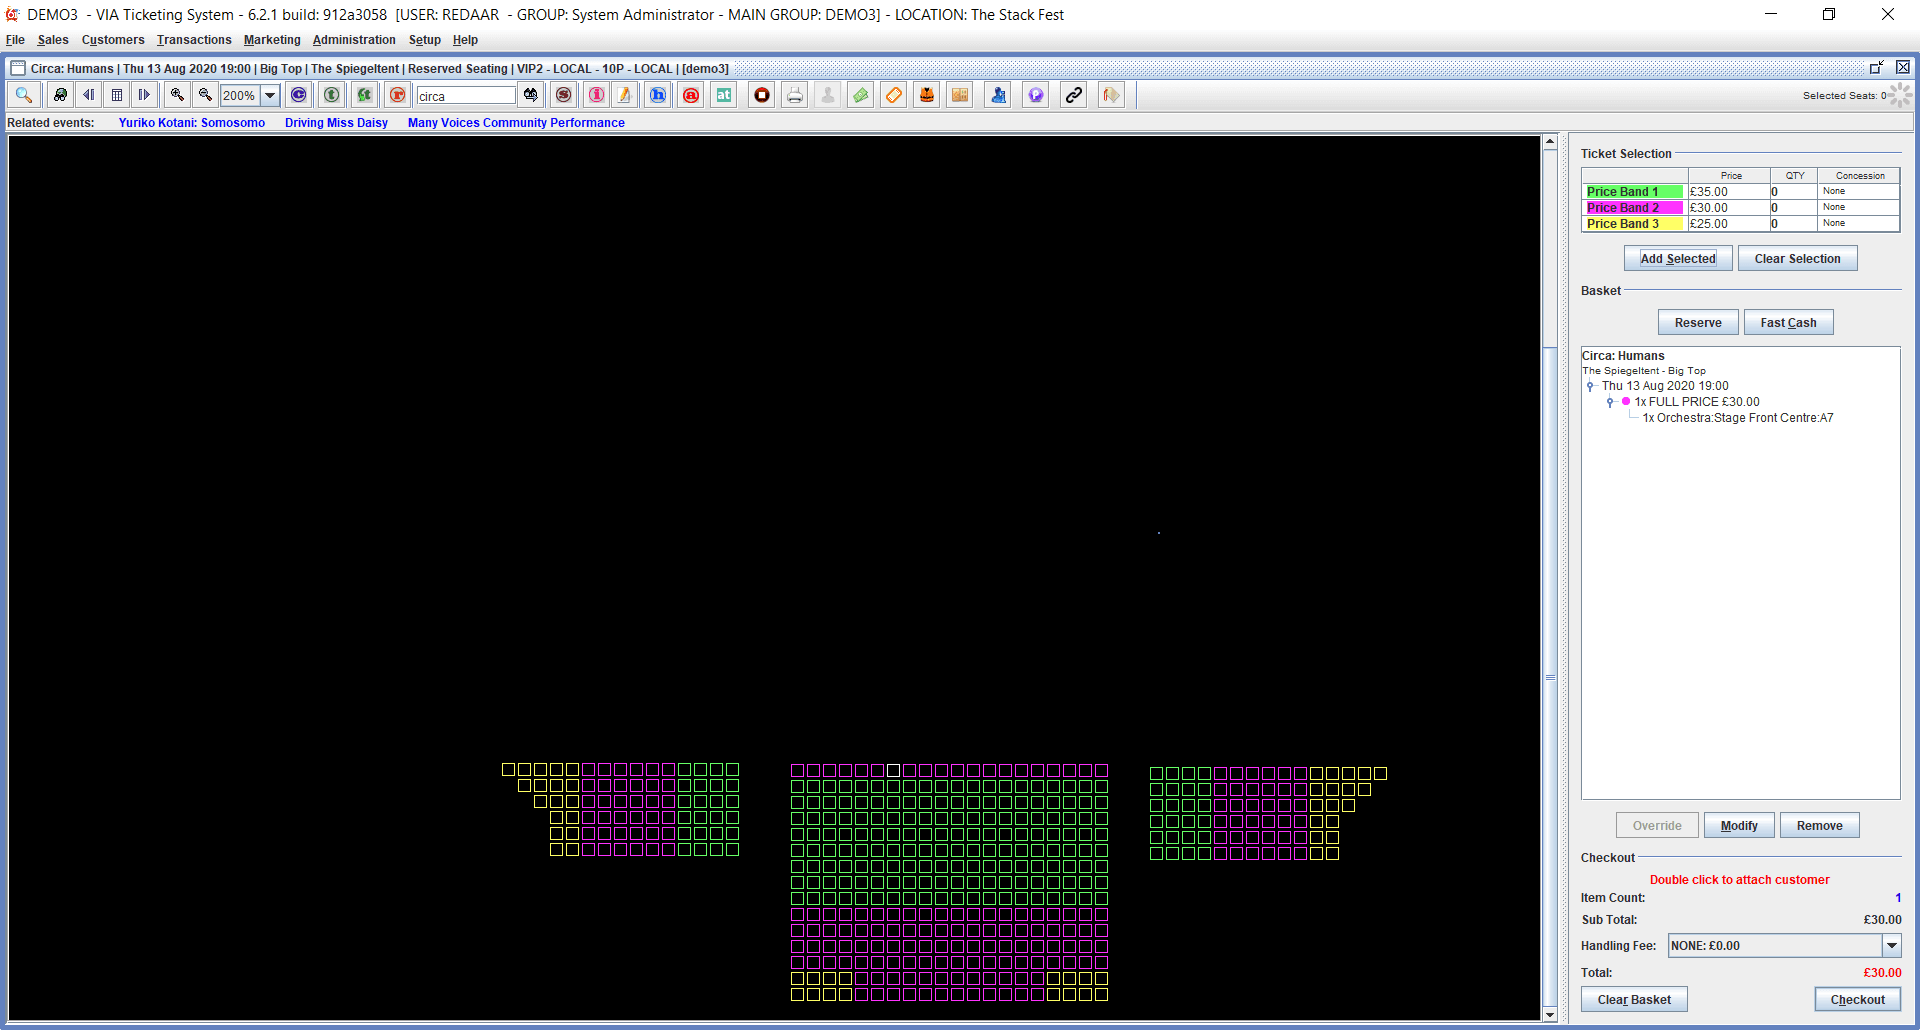
Reserved Seating Sales Screen - Click on a seat in the seating map or zoom in for a closer look and Add Selected. You can modify or remove the seat, or change the price type.
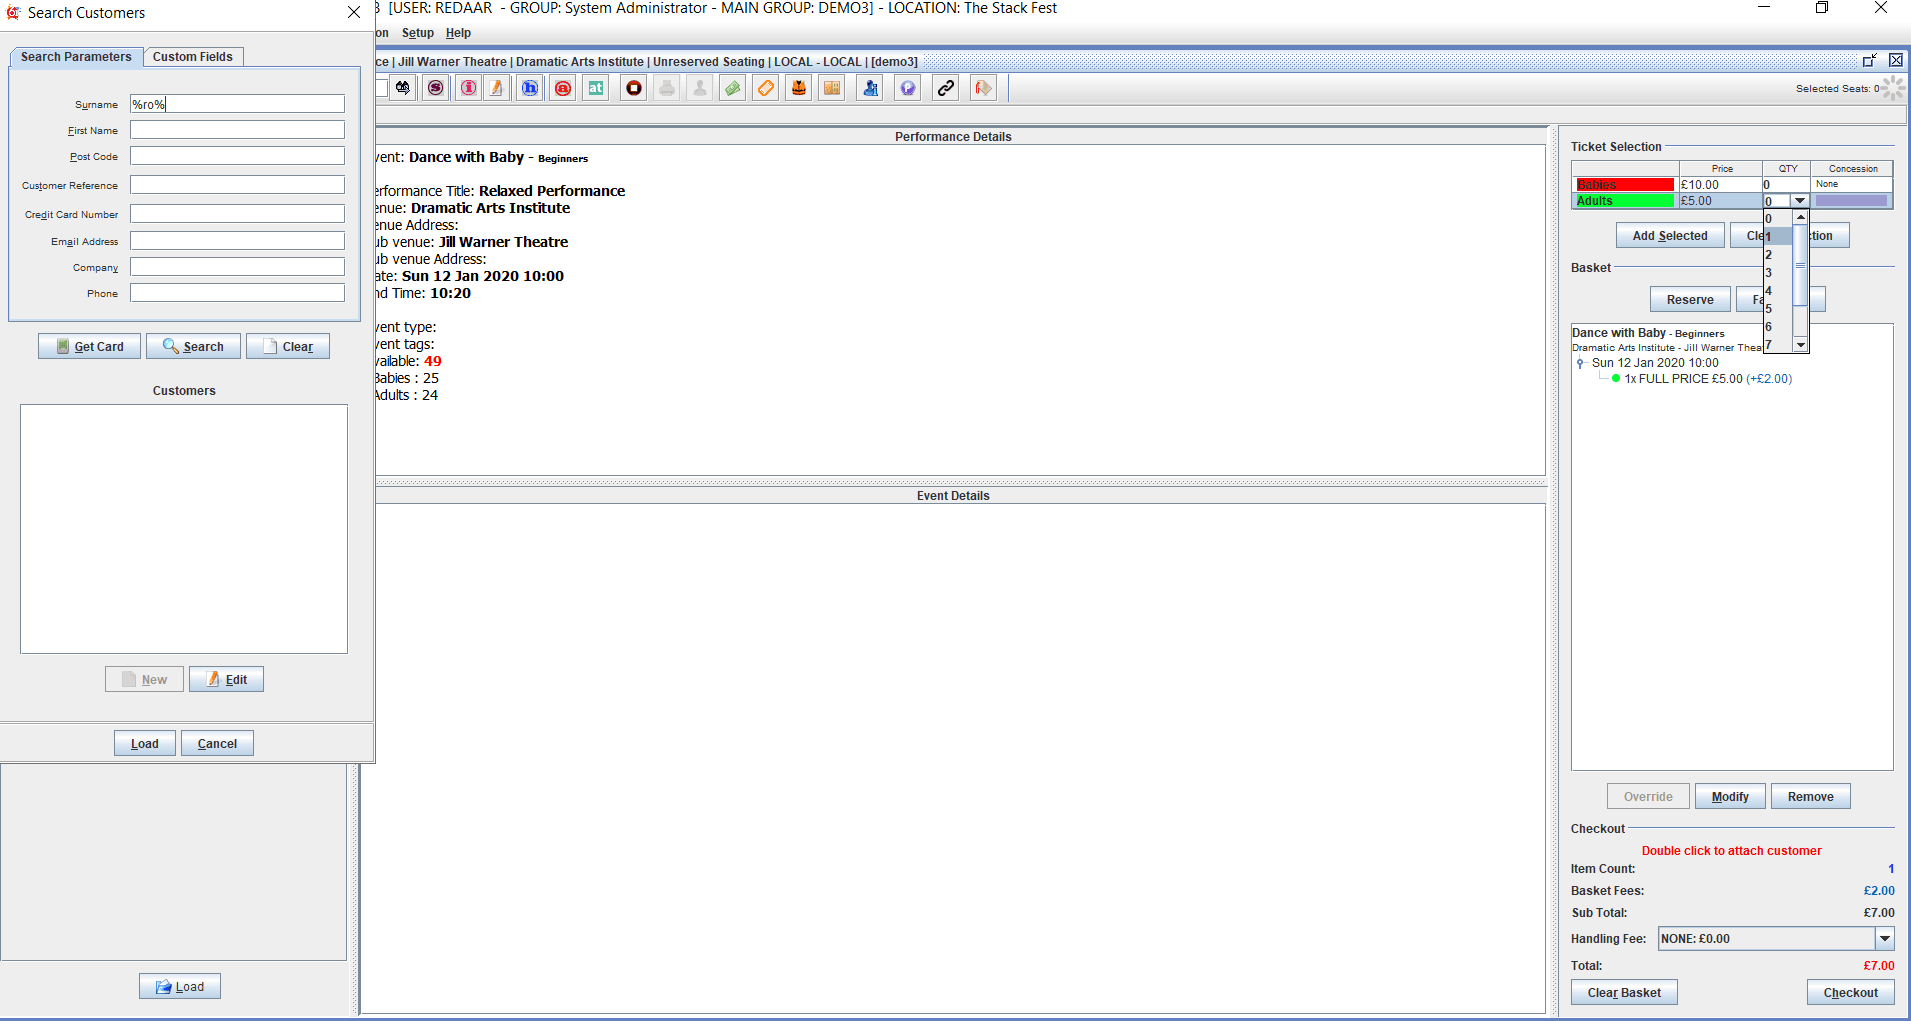
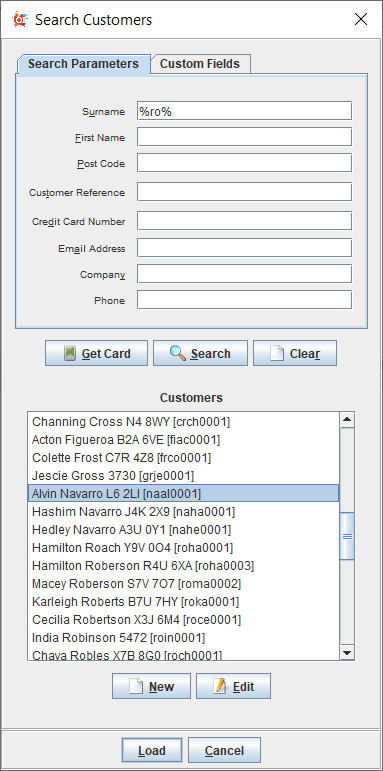
In the Checkout section in the bottom right of the screen, double click on Double click to attach customer. The Search Customers window on the left will appear on the screen. Search by any of the parameters or wildcards % as shown below.
Click on Search and a list of matching customers will appear.
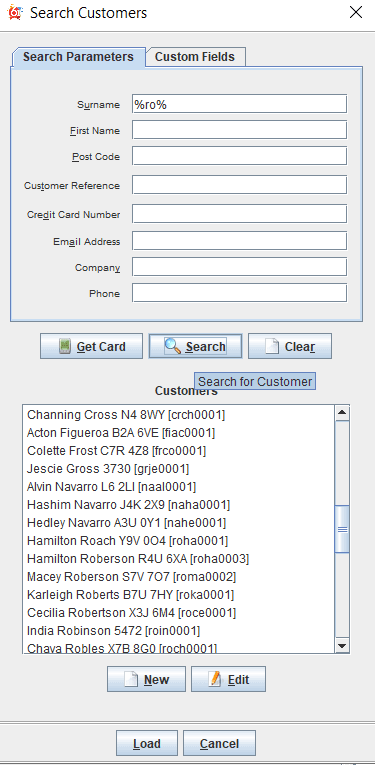
Highlight the customer and select Load. You can also click on New to create a new customer account. To view the customer account, click on Edit.
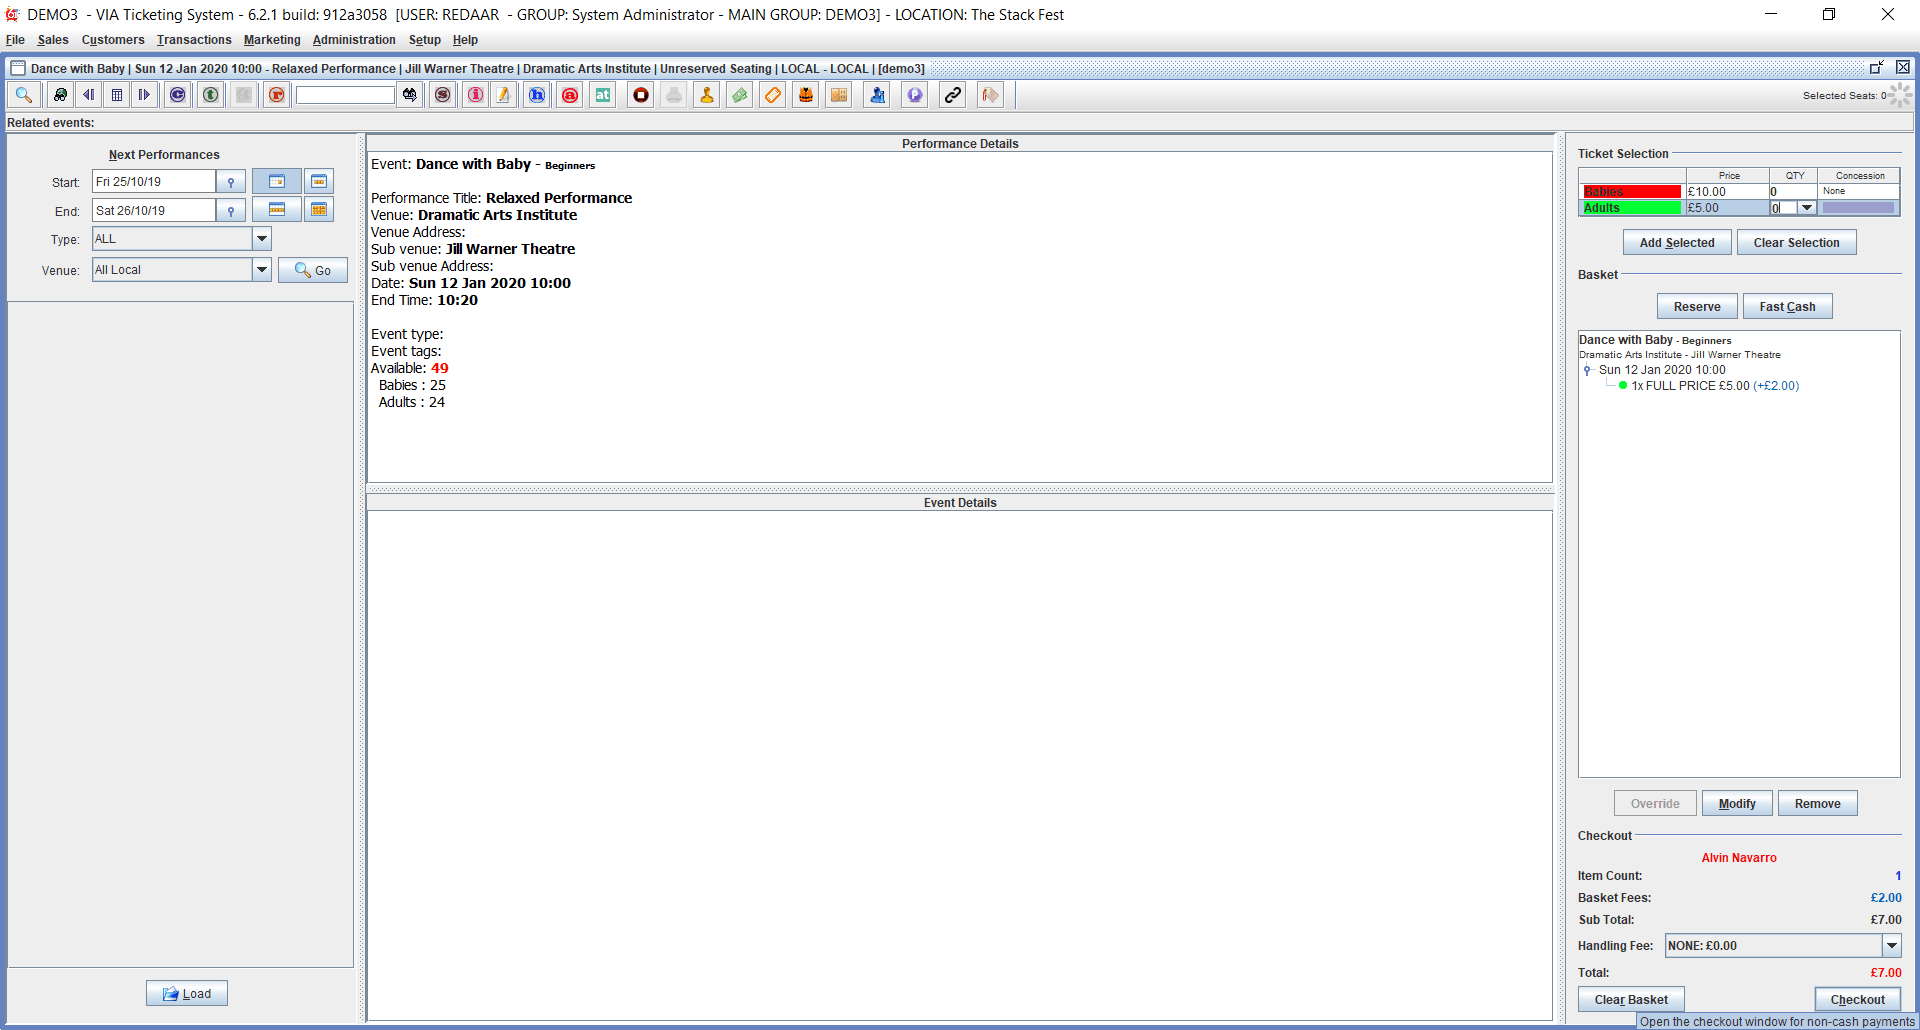
You will see the customer name in red in the checkout section once attached. If the customer has any benefits, the shopping cart will automatically apply any discounts. You can also start a sale by adding the customer to the order screen, and then search for tickets. Click on the Checkout button at the bottom right of the screen.
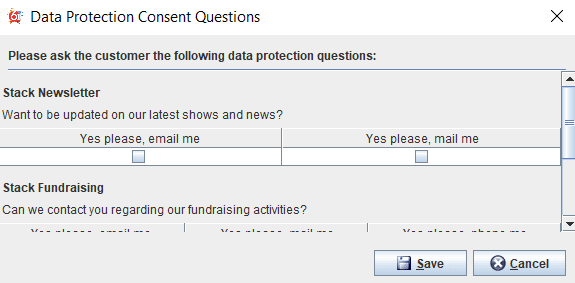
You may be prompted with Data Protection Consent Questions. This is a custom system list that can be used to manage opt ins that complies with GDPR, CanSpam and other privacy laws. Select consent questions and Save, or cancel to bypass a response.
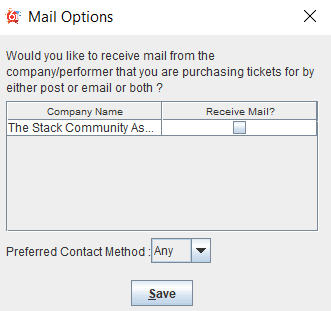
You may also see this Mail Options box. In your live environment, you can turn any of these on or off. Click to save and/or change the preferred contact method and/or check the box for consent.
The order will advance to the final payment screen. Enter the Dummy Card or select Cash from the top tabs.
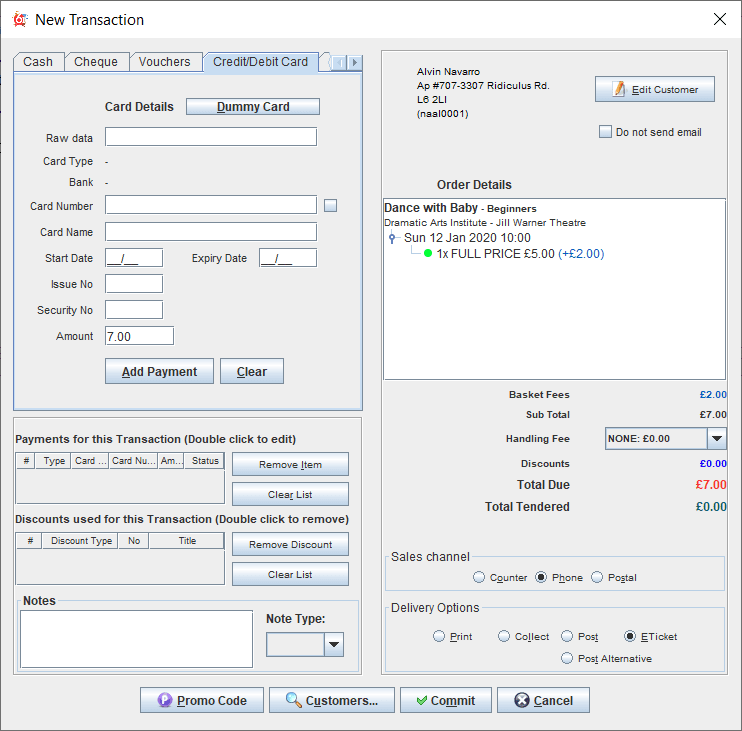
To enter the dummy credit card, use 4111111111111111, enter a dummy card name, set the expiry date for future (ie. 1226), and set the security number to 123. Click on Add Payment to add it to the Payments for this Transaction below.
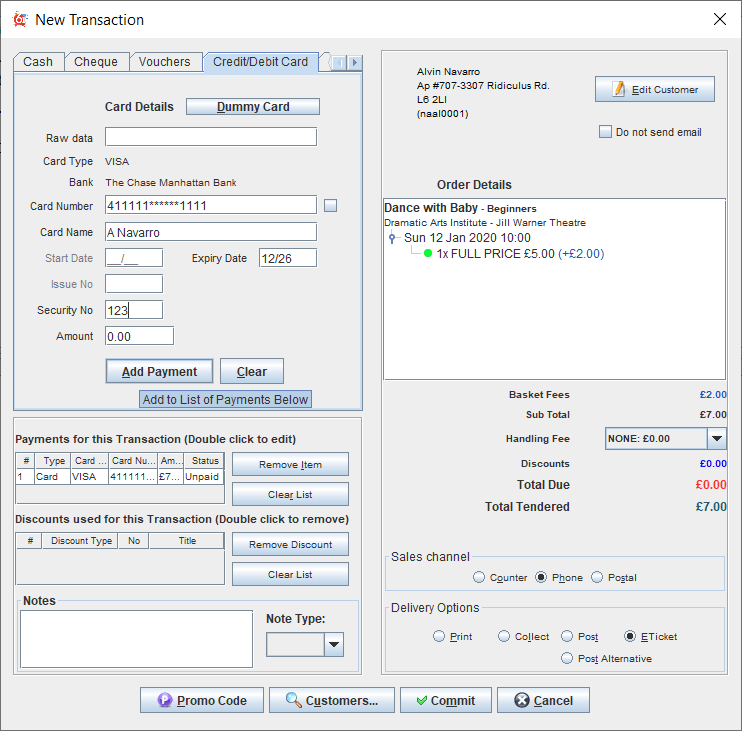
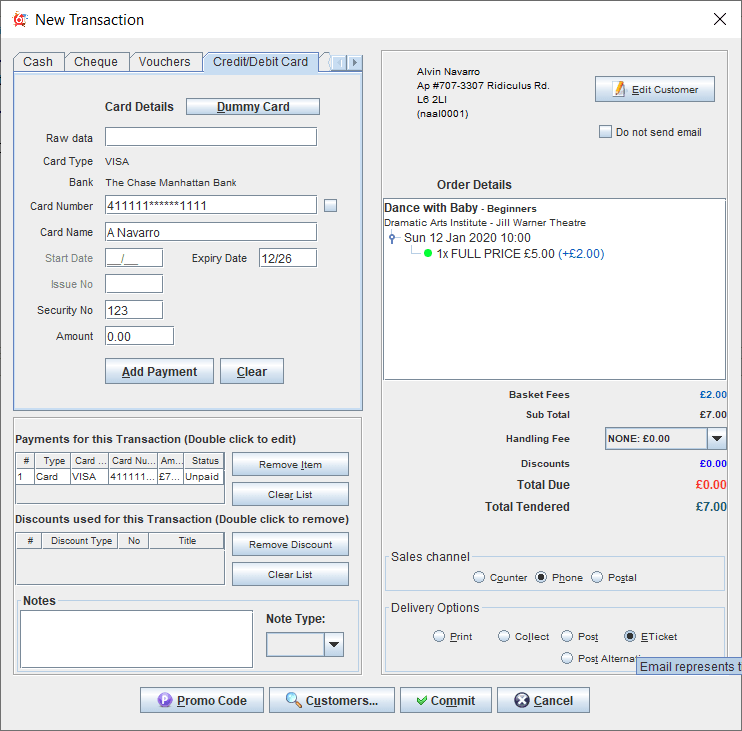
Select a delivery method for the order, such as ETicket. There is no printer connected so that option will not be allowed. If there is no email address connected to the customer account, it can be added by click on Edit Customer, otherwise select Collect to process it as a COBO/Will Call order.
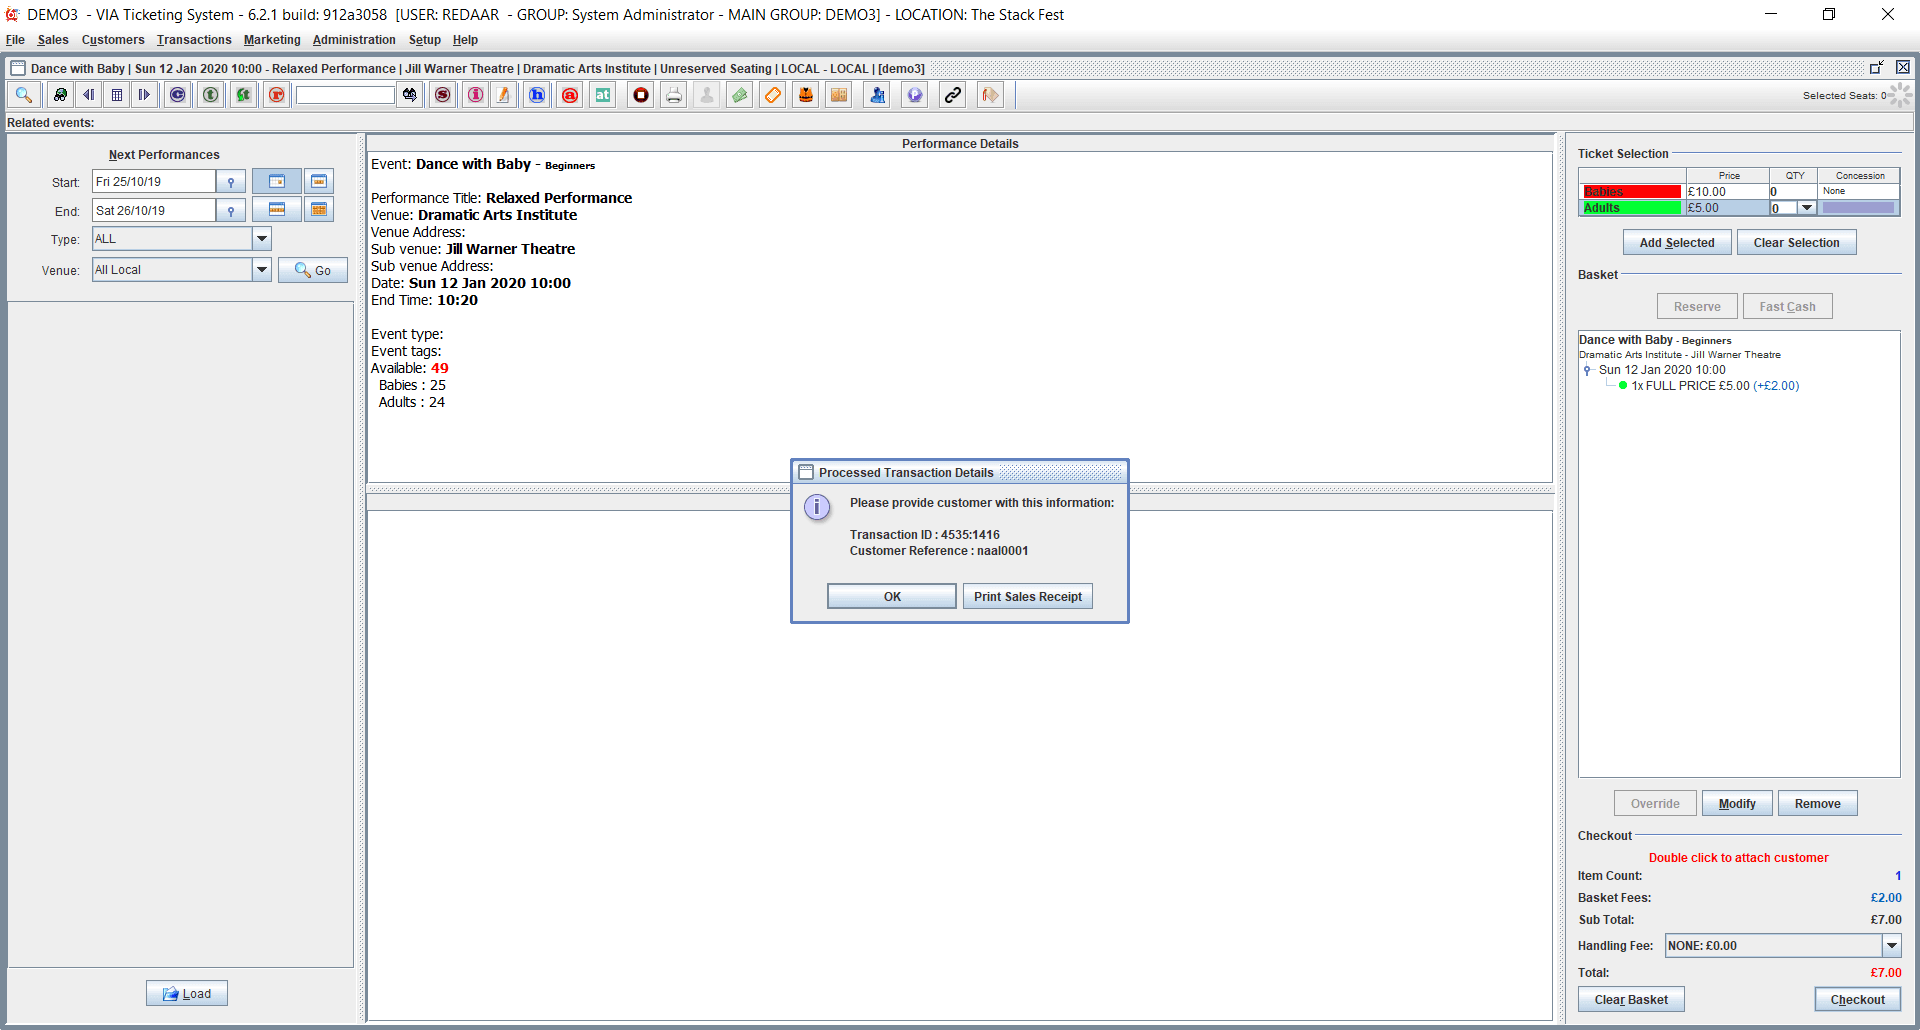
Once the order has processed, a Processed Transaction Details box will appear on the screen. There is no printer attached, so simply click OK. This will clear the order and processing can continue. Use the blank search box in the top menu bar, or the date, type or venue filters to search for other events. You can also go back to the Sales tab to pull up the main search tab again.
