Setting Up an Event
Event Management
There are two levels to event management in the system. The Event (event codes, description, image url, etc.) and the Performance (date, time, pricing, etc.).
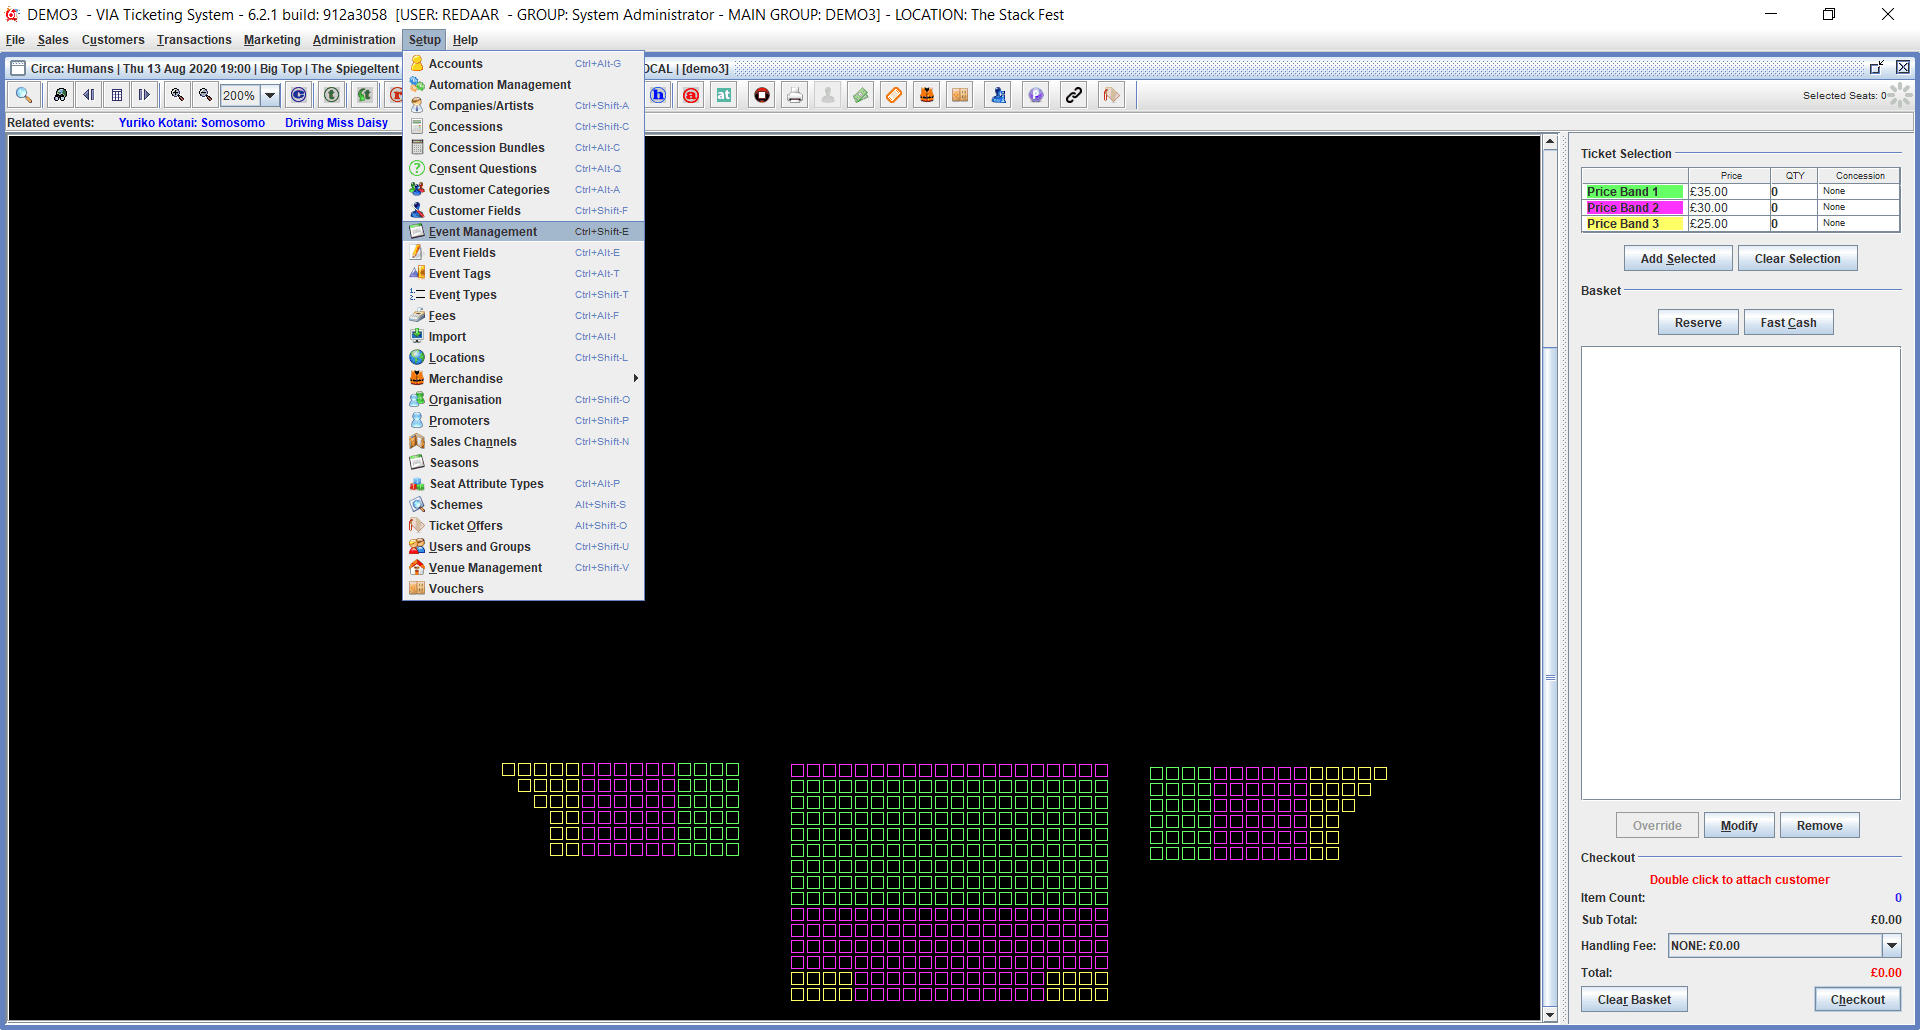
Click on Setup and Event Management.
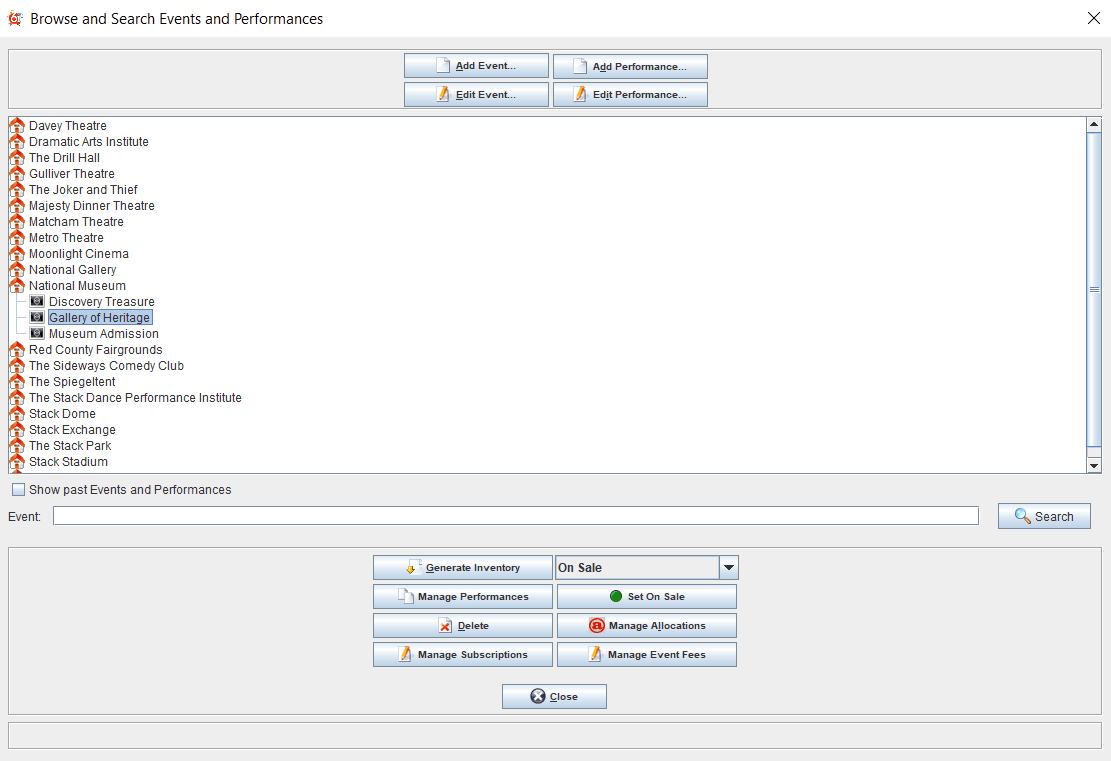
Click on the Venue (house image) to open up any other venue spaces within and click on any space. If there are events created in the venue, the event and timeslots will appear. Click on Edit Event to view the event setup. If there are no events, only the venue space displays. Highlight the desired venue space to create an event in and click on Add Event at the top.
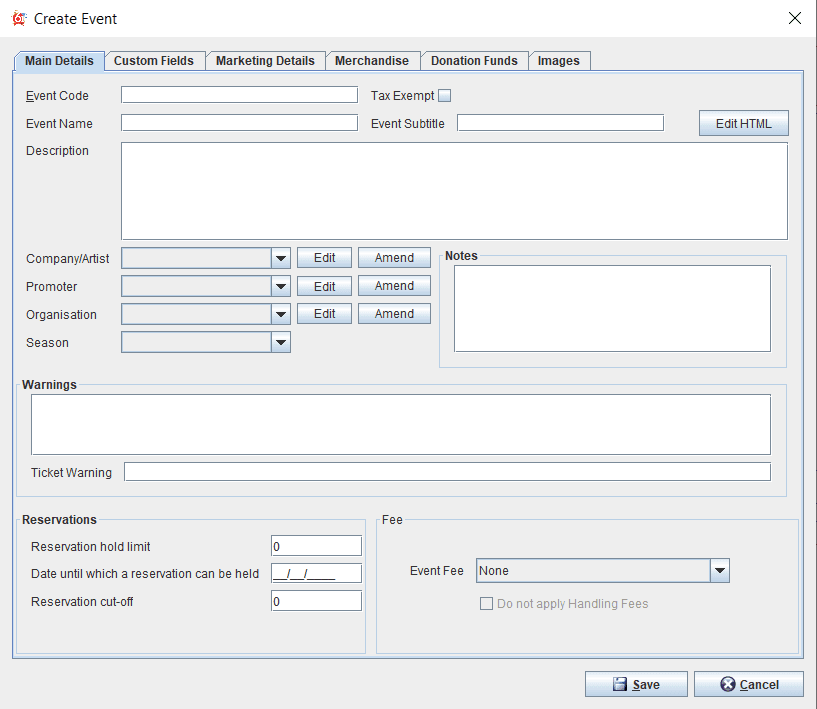
In the Main Details tab, set up an Event Code, Event Name, and populate any other fields. A selection must be made from the Company/Artist, Promoter, Organistion and Season fields. These are all user configurable fields.
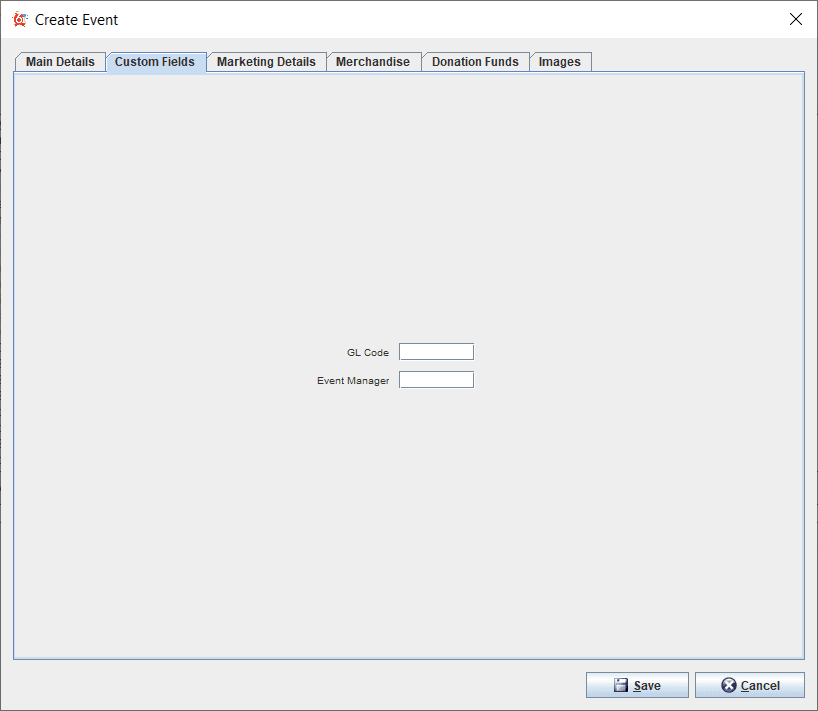
Custom Fields can be created on events to track additional information not in the core fields. GL Code functionality is being added in an upcoming product release and will display similiar to the example here.
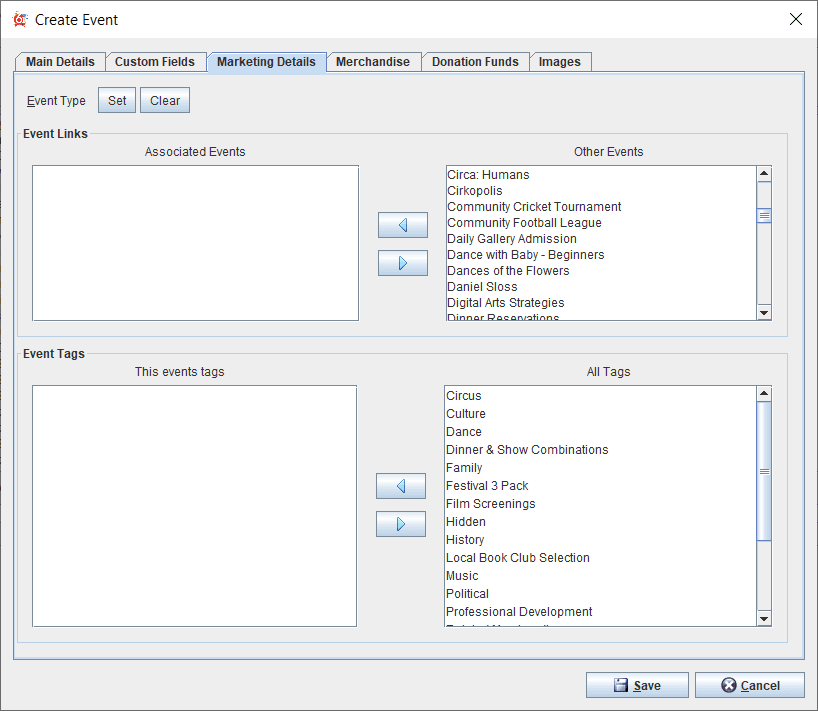
An Event Type can be set from a custom list, and Event Links and Event Tags can be added to enable online recommendations and search functionality. Use the arrow buttons to add or remove associated events or tags.
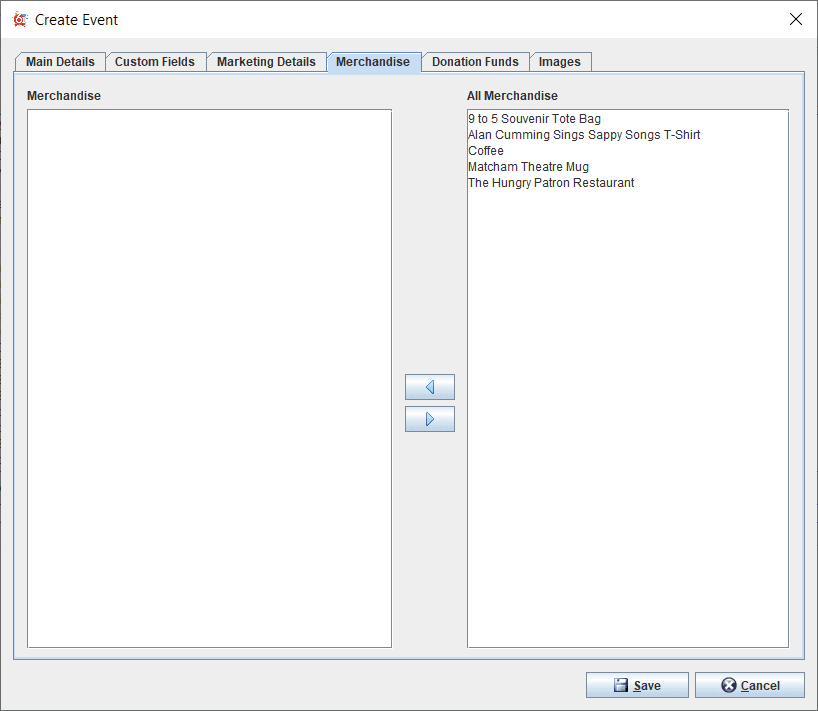
Merchandise items can also be set as recommendations when events are added to the shopping cart.
Donations can also be added as recommendations in the shopping cart.
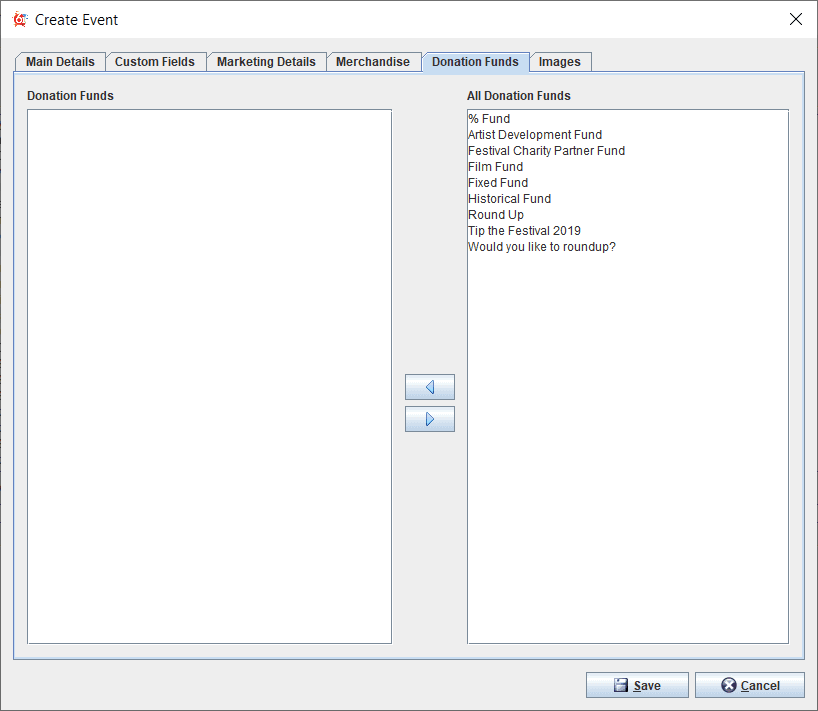
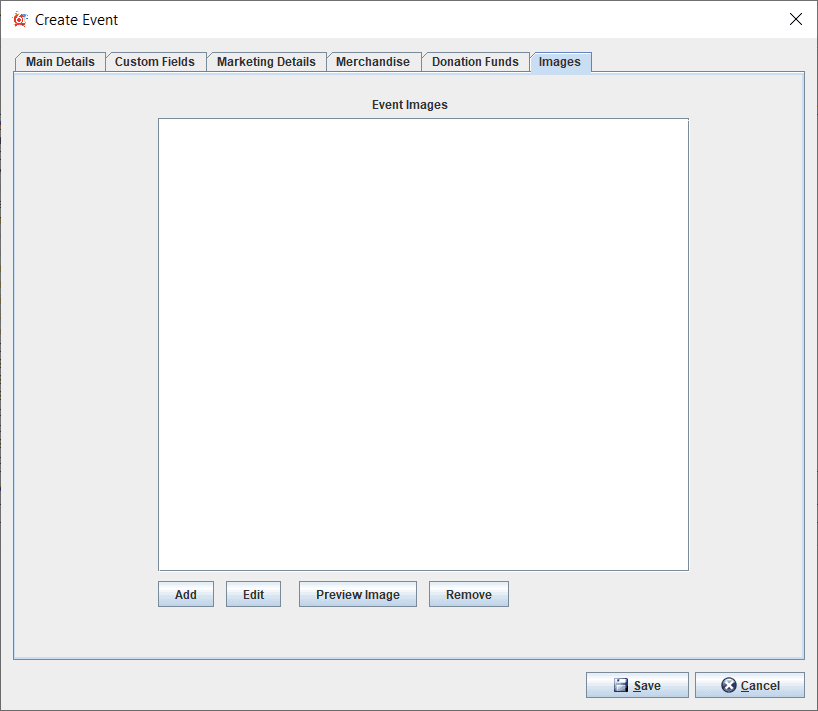
Image URL's can be attached to the event for display online. Select the Add button and paste the Image URL in that named field. In the Type field enter the word "main". This will enable the display of the image of the main microsite event listing page. Click OK to save the event details.
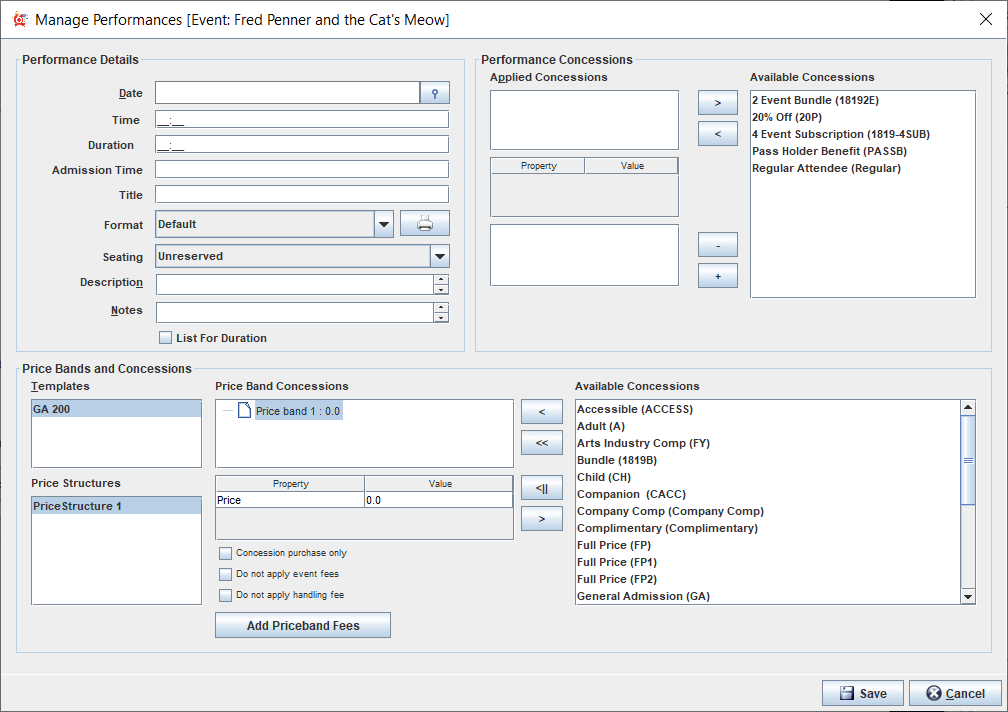
Once the Event is created, highlight the Event and click on Add Performance to bring up this screen. Select a date and add a time, duration (length of the event). For General Admission events the Seating option is Unreserved, and for Reserved Seating events the Seating option is Reserved. This selection when then display the venue Templates in the Price Bands and Concessions section. Highlight the Price band in the Price Band Concessions section and enter the Price under the Value. This is considered the Full Price in the system. On the right, choose any available concessions and add them to the Price band level. There are different calculations such as a fixed price, or discounting that can be applied. Click the Concession purchase only to just display the Available Concessions and not the Full Price. Red61 has powerful Ticket Offers functionality. Any Performance Concessions at the top right will automatically display when configured in the system, as they are not configured on this screen but attached during setup.
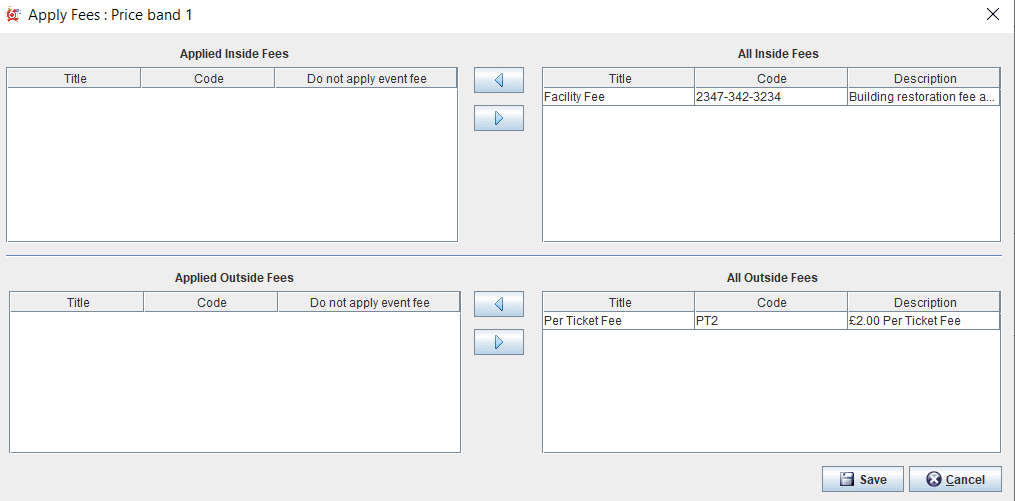
Click on Add Priceband Fees to add inside or outside fees by using the arrow buttons. Fees are fully user configurable in the system. If you are wondering where the tax settings are, those are global settings in the database that we set up during your implementation. There is a setting to make events tax exempt if tax should not be applied. Save any fees and then Save the performance.
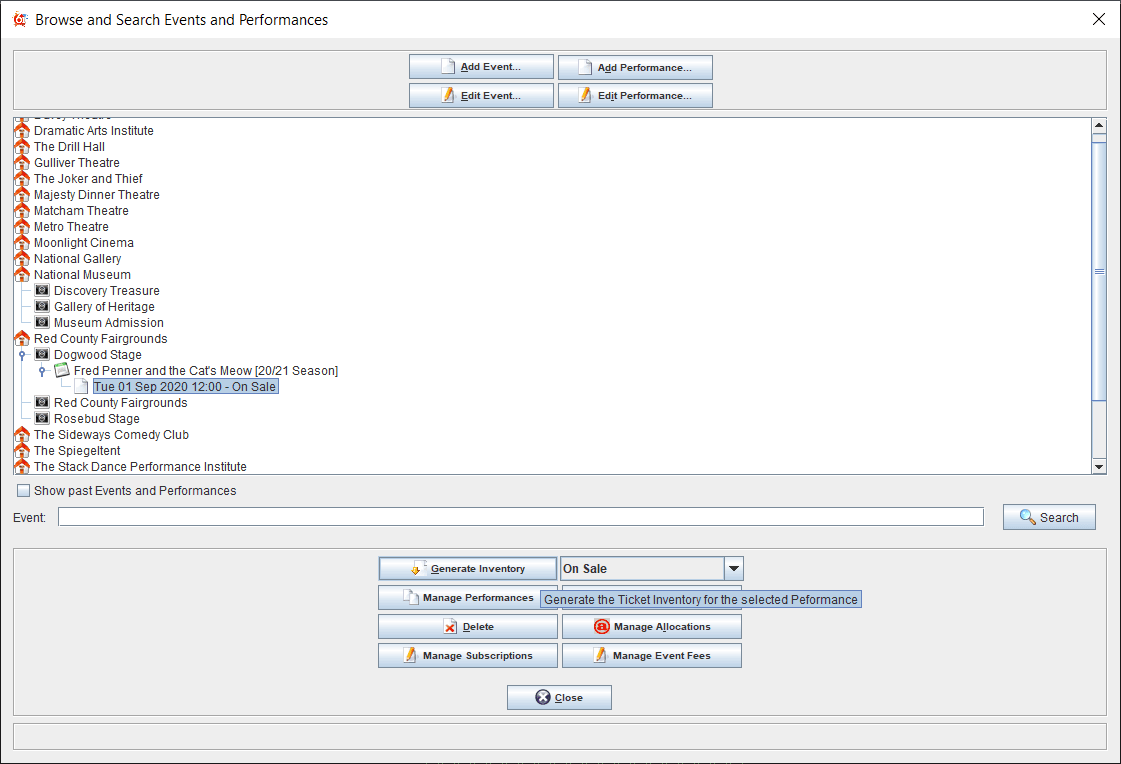
Once saved, your new Event and Performance will appear under the venue space. To put the event on sale, click on the Generate Inventory button and the Set On Sale button from the tabs in the bottom center of the screen. Events can also be automatically set on sale using the Automation Manager. The Manage Performances tab allows for quick building of multiple timeslots and duplication of event setup for new times and dates. The Manage Allocations tab allows for holds management. The Automation Manager can also be used to automate the release of holds. The Manage Subscriptions tab is used to attach Schemes to events (ie. a pass or 3 events can be created by adding a Scheme and the applicable concession).
